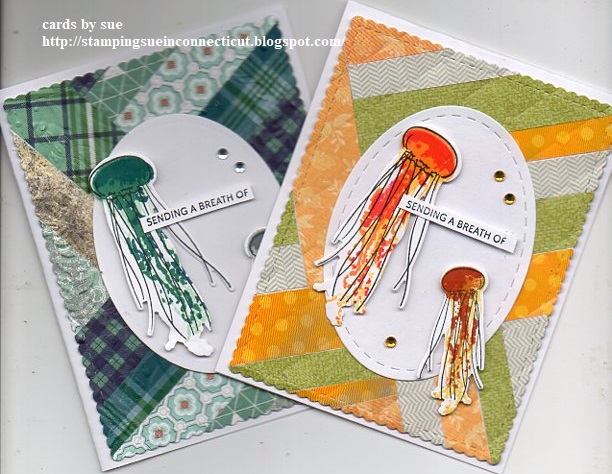
My stamping adventures

Showing posts with label shaving cream background. Show all posts

Tuesday, November 5, 2024

Thank You cards

 Thank you cards

Made a bunch of Thank You cards to have in my stash, and for a couple of people who asked for them.

stamps used: Unity stamp co. flowers, butterfly, lady.  Sayings various companies

Two of the above cards are what I call Faux layer style cards.  That is where you mask off section, blend in some colors, remove mask then stamp image in black. I used my Catherine Pooler inks for blending the colors.  You know, if you follow my blog they are my favorite ink pads.  You can see more of my Faux layer cards in this post from 2020, in this post with a video showing how to do this technique.  The butterfly card is a Split negative card.  Check out how to do this technique in this post with written instructions, and here back in 2016.  To see more of both of these techniques just type in Faux layers, or Split negative in the search bar.

dies used:  Stampin' Up Share a Milkshake stamp/die set

These milkshake, ice-cream cone, and sundae cards are fun, and easy to create.  No stamping required just die cutting of the images.  The backgrounds are, starting with the milkshake card the wax paper pouncing with inks.  The ice-cream card is paper towel pouncing with inks.  The last but not least is the sundae card, which has a shaving cream background.  I usually have a stack of background panels done, so I can make up cards whenever I need.  To see more with the Share a Milkshake stamp/die set look here.  Check out the shaving cream technique look here including a video I did a while ago.  Check out the wax paper technique here with a video.  The paper towel technique is the same as the wax paper.  Remember you can type any technique name in the search bar to see more from me.

Thanks for stopping by.  Come back soon.


Tuesday, May 30, 2023

Painted jellyfish

 Painted Jellyfish

stamp/dies used:  Altenew Painted jellyfish stamp/die set

I fell in love with jellyfish, when I visited the Mystic Aquarium a couple of years ago.

basic instructions:

For the jellyfish I used Catherine Pooler inks, which lately are my inks of choice.  This stamp set is a three step stamping technique.  I made a bunch of the jellyfish, so I now have a stash of them for future cards.  The jellyfish were mounted onto a die cut oval, then adhered to a herringbone background card.  The herringbone technique can be seen here in a page from my background sketchbook, which I started years ago.  If you click on the page in the post you will see I first did the herringbone technique back in 2010.  Here is a more recent post showing the herringbone technique.  If you would like to check out more just type herringbone in the search bar.  

Below are a couple more card samples with the painted jellyfish.


Above card has a strip of shaving cream background, which you can get more information on this post if you are interested.
Thanks for stopping by.  Come back again soon.

Monday, May 8, 2023

Everything coming up carrots

Everything coming up carrots

card #1
stamps/dies used:  SU Thanks a Bunch 

For these cards I used up things I had done already, like shaving cream backgrounds, and die cuts.  Yes, I have a baggie full of die cuts ready to be used on my cards.

Card #1 measurements:

A2 card: 4 1/4" x 11" 

pop up strip: folded to create a box

card #2

Card #2 Double pop up measurements:

A2 card: 8 1/2" x 5 1/2"

inside layer: 8 1/4" x 5 1/4"  folded in half. With card folded in half, cut on folded edge to create pop ups.


Card #3 Explosion fold measurements:
A2 card: 8 1/2" x 5 1/2"
inside explosion fold: 7" square 


Card #4 Tag pop up card
See measurements for card #2
Check out this pop up post for more pictures and instructions on how to make pop up cards.
Let me know in the comments if you have made pop up or explosion fold cards.
Thanks for stopping by.  Come back again soon.
***not affiliated with above company just happy customer***