My stamping adventures

Showing posts with label pop ups. Show all posts

Wednesday, August 14, 2024

Little note of thanks

 Little note of thanks

I don't do a lot of thank you cards but decided to make one to have on hand. 

This cute bird is a stamp set with a punch.  Didn't have my camera handy so I scanned this card.  The only problem is you can't see the pop up ..... if you go to this post you will other cards with this pop up mechanism, and measurements.

stamps/supplies:  Stampin' up

Here is a look at the pop up mechanism.

Thank you for stopping by.  Come back soon.

Monday, July 22, 2024

Doodle bird pop up

 Doodle bird pop up

stamps/supplies used:  Unity stamp co. Coffee doodle bird, stamp/stencil set Bevy of balloons

Here's a close up of the card closed.
Sample card, not decorated with notes of measurements written inside. 
Side view of card open.
My written out notes for this pop up card.  If you would like more tradition written out tutorial go here to this post.


In case you haven't noticed I'm still having lots of fun with this doodle bird.
Thanks for stopping by.  Come back soon.
***not affiliated with above company just happy customer***


Thursday, March 28, 2024

Wildflower, Yikes!

 Wildflower, Yikes!

Check me out over Blank Page Muse blog today with a pop up, or it can be called a pop out card.


Once you do one of these cards you will be addictive to this card design. 
The wildflower is unique, and quirky along with the fun pattern paper.  Of course, with this quirky flower I just had to use a bright green ink to show it off.
First I wrote up these measurements for the pop up mechanism. Next I drew pictures to go along with my notes.
Measurements/Basic instructions:
1.  On A2 card 4 1/4" x 5 1/2" adhere pattern paper.
2.  die cut out section.  save cut out shape to adhere to pop up mechanism later.
3.  cut strip of cardstock 1 1/2" x 4"  score at 1", 2", 3".  fold on all scores.

4. on folded strip add glue (or favorite adhesive) to one of the sections with glue on the inside of the card at the fold.  see template/notes #2 drawing.  When card is closed you can see the strip through the opening.  Open card and fold the strip in half. see template/notes #3 drawing.  Put glue (or favorite adhesive) above fold of card.  see template/notes #3 drawing.  Close card to attach pop mechanism to card. 

 Next adhere die cut shape you saved from before to the pop up mechanism when card is closed.  Good idea to stamp/decorate the die cut shape before adhering to pop up mechanism.  Finish decorating to complete the card.

stamps/products used:
Blank Page Muse Wildflower, Yikes stamp set by Monique van Dijk
Blank Page Muse Cyan Corsortium paper pack by Pam Bray
I Brake for stamps Harvest Love (saying) stamp set

Thanks for stopping by.  Come back again soon.


Monday, May 8, 2023

Everything coming up carrots

Everything coming up carrots

card #1
stamps/dies used:  SU Thanks a Bunch 

For these cards I used up things I had done already, like shaving cream backgrounds, and die cuts.  Yes, I have a baggie full of die cuts ready to be used on my cards.

Card #1 measurements:

A2 card: 4 1/4" x 11" 

pop up strip: folded to create a box

card #2

Card #2 Double pop up measurements:

A2 card: 8 1/2" x 5 1/2"

inside layer: 8 1/4" x 5 1/4"  folded in half. With card folded in half, cut on folded edge to create pop ups.


Card #3 Explosion fold measurements:
A2 card: 8 1/2" x 5 1/2"
inside explosion fold: 7" square 


Card #4 Tag pop up card
See measurements for card #2
Check out this pop up post for more pictures and instructions on how to make pop up cards.
Let me know in the comments if you have made pop up or explosion fold cards.
Thanks for stopping by.  Come back again soon.
***not affiliated with above company just happy customer***

Sunday, December 4, 2022

Stand up friend

 Stand up friend Pop up acetate card

for the month of October

                                        stamps used:  Stampin' Up The gang's all meer stamp set

I did these cards for my local card swap group. This is a fun pop up card I saw at Lisa's stamp studio a while back.

Basic measurements:

base: cut two at 5 1/4" x 5 1/2"  score at 1" on the 5 1/4" side of both cards.

outside layers:  4" x 5 1/4" 

pattern paper 3 3/4" x 5"

basic inside layers: 4" x 5 1/4", 3 3/4" x 5"

window sheet strips (for pop up images): cut three at 1" x 3 3/4" trim down to fit inside card with images. You don't want any of the floating images showing outside the card, when it is closed.

You can go look at this post to see more samples, and instructions.

Thank you for stopping by.  Come back soon.


Monday, June 20, 2022

Pop Up acetate cards

 Pop up acetate cards

stamps used:  Stampin' Up Whale done

I know I have said this before with other card designs, but I really mean it with this one:  It is just FUN!  

Measurments:

base: cut two at 5 1/4" x 5 1/2"  score at 1" on the 5 1/4" side of both cards.

outside layers:  4" x 5 1/4" 

pattern paper 3 3/4" x 5"

basic inside layers: 4" x 5 1/4", 3 3/4" x 5"

window sheet strips (for pop up images): cut three at 1" x 3 3/4" trim down to fit inside card with images. You don't want any of the floating images showing outside the card, when it is closed.


Assemble card:

On one of the scored section ... tape window sheet strips equally apart.  Next add more tape or glue and press both scored cards together.  This will create the card.  


Stamp and die cut or punch circle and ovals to tape to window sheet strips that seem to float in the air when you open the card. 


Look close (click on photo to enlarge) at the photos and you can see the floating images on the window sheet strips.
Thanks for stopping by.  Come back again soon.


Wednesday, May 4, 2022

Leopard Pop up Fun fold card

 Leopard Pop up Fun fold card

stamps used:  Catherine Pooler stamp/die set and Stampin' up

I do like my fun fold cards, and this one is a good one! 

Measurements:

base card: 4 1/4" x 8"  scored at 1 1/4" and 2 1/2" (z-fold card design)

pop up:  3 1/4" x 6"  scored at 1/2" and 1 3/4"

inside layer: pattern paper 4" x 5 1/4"

outside strip of pattern paper: 2 1/2" x 2 5/8"

front layer: 2 5/8" x 3 1/8"

mini card (on front of card): 5 1/8" x 2 3/4"

I saw this on Dawn's blog but for her card she added a white layer to the back of the card to write on.  I changed it up by adding a mini card to the front of the card.

thanks for stopping by and come back soon.  comments welcome.


Thursday, December 17, 2020

Mini cube holiday cards

 Holiday mini cube cards


This card design is a little involved but once you figure out the ins and outs it becomes easier.  You can put colored cardstock on all the sections or just some of them ... I decided to do some of them. 
Measurements:
white cardstock
cut two at 1 3/4" x 7 1/2"
cut at 3 1/2" x 7 1/2"
cut four at 1 1/4" x 1/4"
color cardstock
cut at 1 1/2" x 1 1/2" (as many as needed)
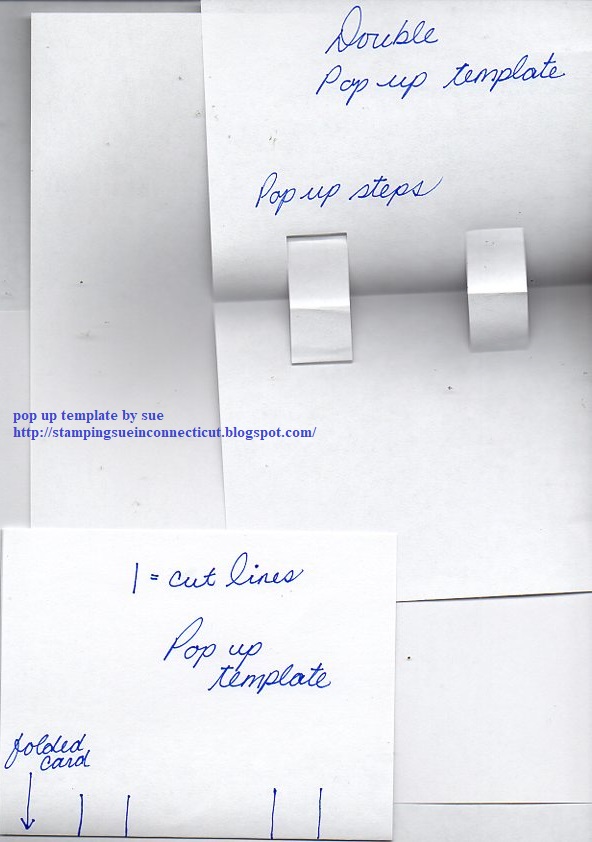
refer to photo
Start with 8 1/2" x 11" white cardstock cut at 7" x 7 1/2".  With 7 1/2" across the top score at 1 3/4", 3 1/2", 5 1/4" and 7".  Turn to 7" side across the top and cut at 1 3/4" and 1 3/4".  You should be left with a piece at 3 1/2"
Use the leftover piece of white cs from 8 1/2" x 11" that you cut first to make the four squares.  Four squares at 1 1/4" x 1 1/4".
Next cut 1/2" strip and then cut two at 2" ... this will create the hinge for the inside saying.
Cut 1 1/2" squares of colored cs to go behind stamped 1 1/4" squares.
To assemble card:
1.  fold all score lines.  tape short end to make cube.  repeat for all white pieces.
2.  adhere smaller cubes to big cube to form the card.  when taping together face all seems to the front. refer to photo
3.  apply glue to bottom section of small cut and tape to bottom of bigger cube.  repeat for second small cube.
4.  adhere all the stamped squares to the cube card.
5.  for hinge:  fold hinge strip in half ... and tear and tape to one side of each of the folded hinges ... on the seam of the center of the inside of the card of the card adhere the folded edge of one of the hinges. refer to the photo.
Then adhere the other folded hinge in the same way ... making sure the folded side of the hinges are facing each other.  adhere the saying to the hinges on the inside of the card.  finish decorating the card to complete it.
I first saw this card on Dawn's stamping thoughts but since then it has been popping up all over.  You can go to you-tube for videos.
Thanks for stopping by.  come back again soon.


Saturday, May 10, 2014

tiger lily

I do like this floating pop up card....seems to be my go to pop up right now.  If I remember I saw it first on Dawn's Stamping Thoughts blog.  It's a fun and easy pop up card, using SU word window punch instead of scissors, or an exacto knife which is my least favorite tool to use because I always seem to cut or slice myself when I use it.  First I embossed the Tiger Lily flower with white embossing powder and ink then I took a water brush and pigment white re-inker to color in the image.  Next you need to let it dry then you can add color with your favorite medium and we all know mine is Prisma color pencils.  This is called white wash technique but basically I learned this technique over 10 years ago by Natalie from Magenta stamps.  What we did was stamp a solid image with white pigment ink, let it dry then color it in with color pencils.
card details:
stamps - Mark's Finest Papers a Heinrich Co. Home Page Tiger Lily stamp set (May release)
Color box white pigment ink pad and re-inker
white embossing powder
SU word window punch
SU ribbon
various cardstocks
Prisma color pencils
Enter in the following challenges:
1.  Simon Says Wed. Challenge - spring flowers
2.  Craft Hoarders Anonymous challenge - add ribbon, lace or fibers 
3.  Stamping Sensations challenge for May - anything goes
4.  Crafting for Seasons - lots of layers

Tuesday, February 4, 2014

My style

My style of stamping depends on the mood on in but I can say I like to make mechanical cards.  That means a card that doesn't just stand there...it moves, pops or shakes.  Today my card (click on pic to see bigger view) is a pop up with a twist.  Saw this type of card over on Dawn's stamping thoughts blog , she has lots of fun ideas.
entering this card in following challenge:
1.  Craft Hoarders Anonymous Challenge Blog  - what's your style


card details:
stamps - Mark's Finest Papers a Heinrich Co. Home Page - Birdcages
spellbinders nestabilities circle dies